Monday 29 December 2014

Tealight Box - Tutorial

Cut a piece of cardstock or paper - 7.75 inches x 5.25 inches   (19.5cm x 14cm)
Score on the LONG side at 3/4 inches and 7 inches (2cm & 17.5cm)
 Score on the SHORT side at 3/4 inch, 2 1/4 inches , 3 inches , and 4 1/2 inches  (2cm, 6cm, 8cm , 12cm)

 Burnish all the score lines

Cut away the sections as shown in the photo

Using wet glue or DST, fold and stick the small tabs as shown to form box

Fold the rest of the card over to form the box lid

If you wish to decorate your box,you will need two strips of decorative paper measuring 1 3/8 inches by  x 6 inches (3.5cm x 15cm)


To make the belly band to go around the box, cut a strip of paper 1 inch wide by approx 6 inches


Wrap the strip around the box, cut so that the two ends overlap and glue into position, taking care not to glue the belly band to the actual box

Cut a small tag using a die or a punch

Add a handmade bow and attach your tag

You can of course just use a piece of ribbon to seal your box, if you don't want to make the belly band and bow.


The box is big enough to hold 4 tealights, I decorated mine with Graphic 45's Time To Celebrate Collection and am really pleased with how they turned out.


Wednesday 24 December 2014

G45 - Time To Flourish Birthday Album


it's not finished yet but here are a few work in progress pictures of the Birthday Album I am making :


Sunday 21 December 2014

Candy Box Crafts - When is an mdf coaster not a coaster? ....

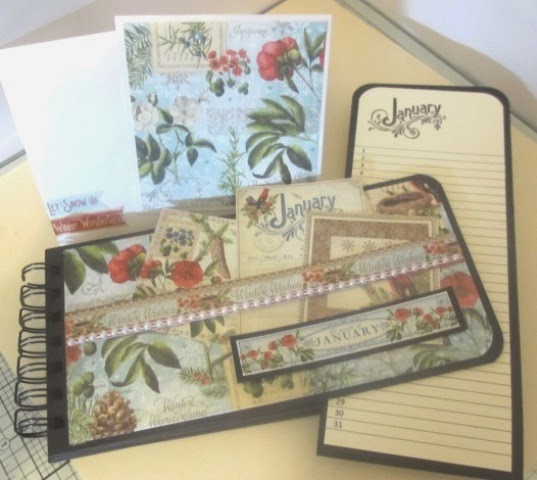
... when it's a desk top calendar, of course!

I have been lucky enough to play with some of the Candy Box Crafts mdf coasters, now whilst I enjoyed painting and stamping them I wanted to see what else I could do with them. So with 6 mdf coasters and the addition of the new Time To Flourish collection by Graphic 45, a free 2015 calendar downloaded from the internet, a couple of hinged rings and some ribbon I came up with a desk top calendar,

I painted the edges of the coasters in black acrylic paint and let them dry, I then measured the coasters and cut a square of paper about a quater of an inch smaller than the coaster. I edges all the edges of the paper with black soot distress ink and then adhered th e suares  to the coasters using a wet glue.

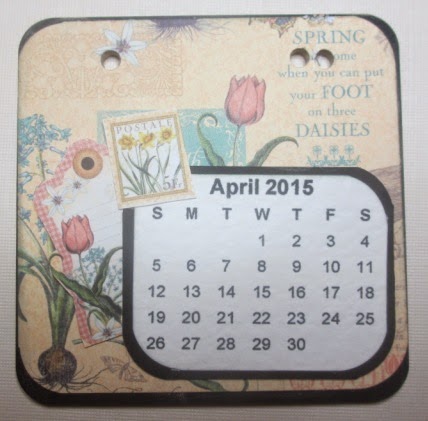
I downloaded a free 2015 calendar from the internet and trimmed each month as small as it could go. I then rounded the edges with an ek success 1 inch corner punch. I then matted the months onto black card stock leaving a border of approx  1/8th of am inch all around and then rounded the corners in the same manner.

I was going to glue the calendars to each months picture, but I decided to use a clear plastic pocket to pop the month's into - that way I can reuse the calendar each year. I punched two holes into the coasters using my crop-o-dile and slipped the two hinged rings through the holes. I then decorated the rings with a few pieces of ribbon.
Hope you like it: