Sunday, 11 December 2011

Ho! Ho! Ho!

My youngest brother and his wife have a pink and green theme running through their trendy apartment., so I thought I would attempt to make a Christmas card in keeping with their chosen colour scheme.

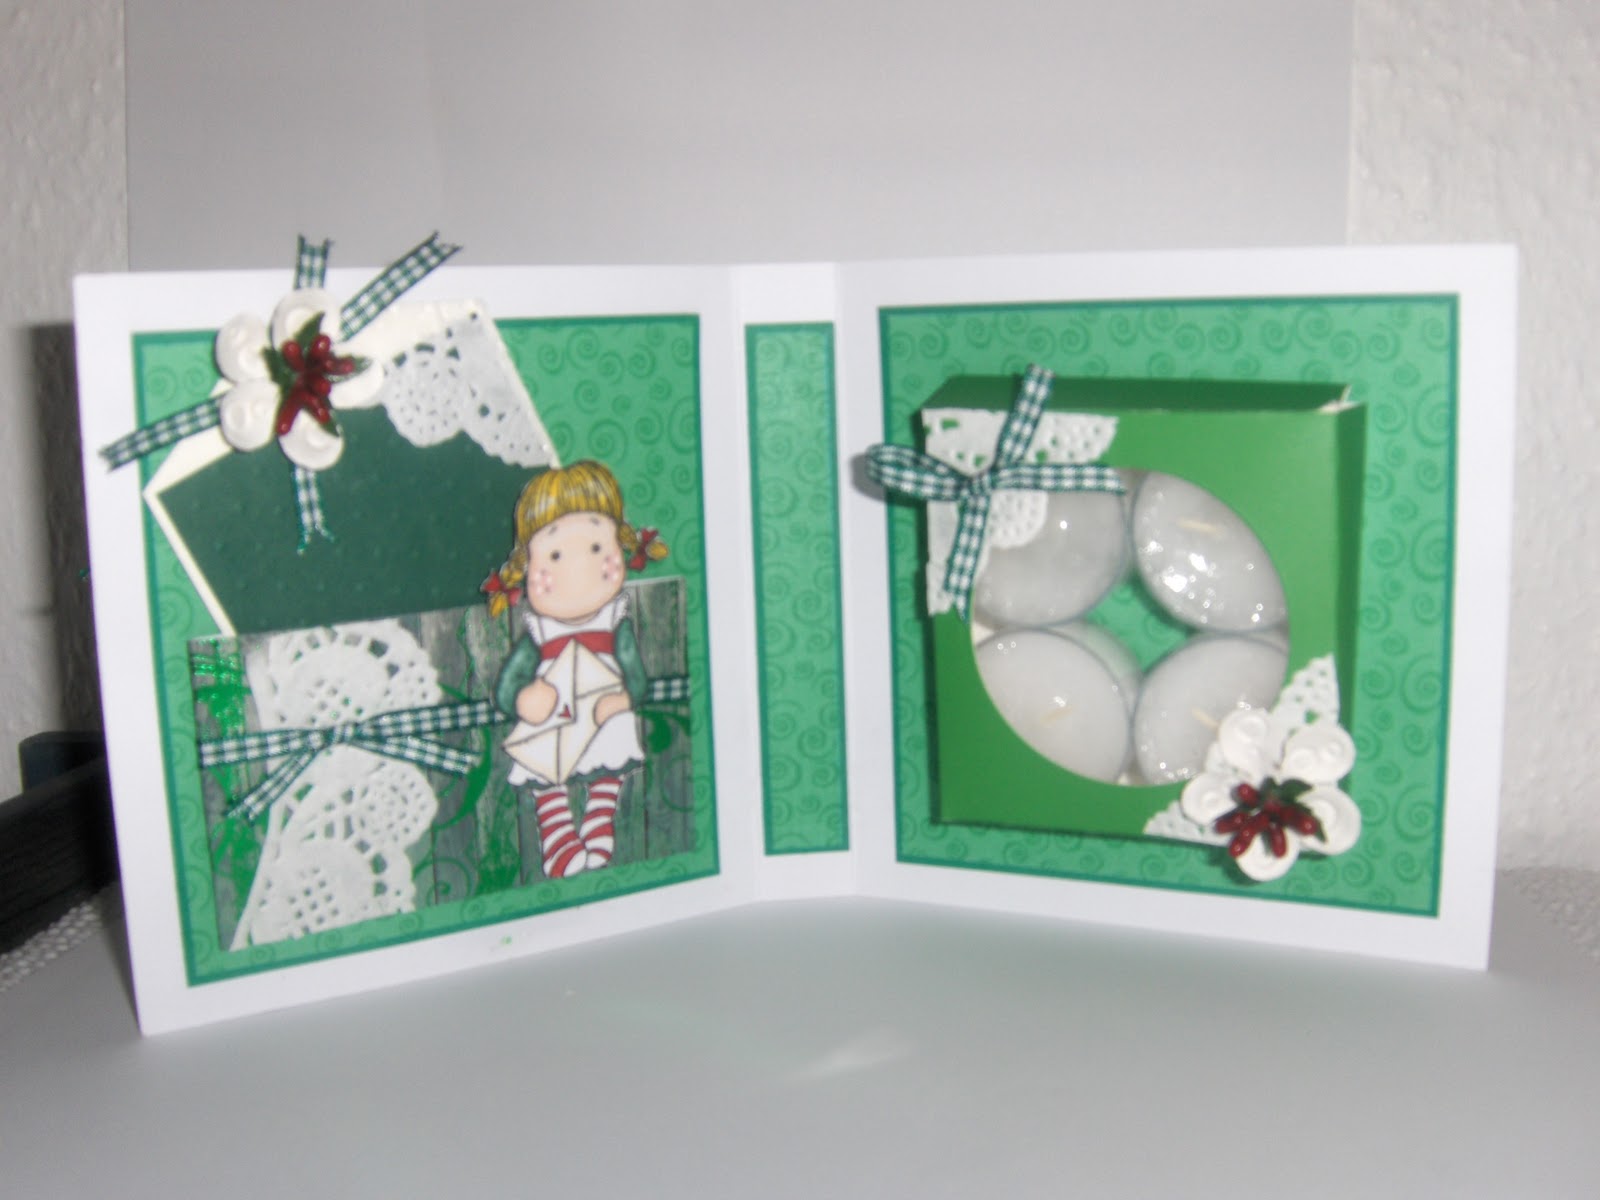
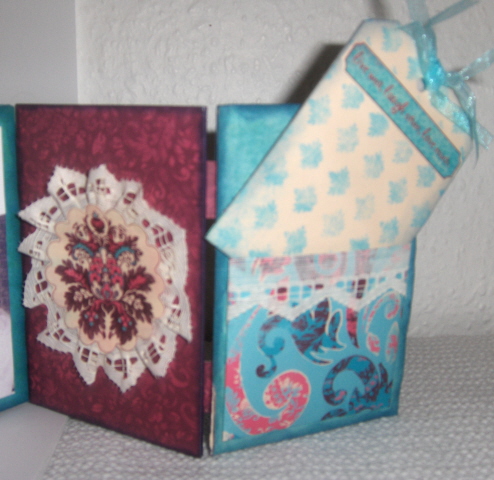
I took 5 basic square cards and trimmed them down to be 4.5 inches square. I then glued the cards together concertina style,

I used strips of pink and green card to make the letter "H"  and some old snowflake circles (re-cycled from an old Xmas card) matted onto die-cut scalloped circles to make the "O"'s.

I added a few die-cut snowflakes, using a couple of sets of Marianne design dies and finished off with a few adhesive gems - you have to have a bit of bling at Christmas!

I am really pleased with the card and think it will go perfectly with their decor.

Saturday, 10 December 2011

Final card made for my neighbours ....

I have had a lovely day making cards for my lovely neighbours - this is the final one.

The baubles were made by cutting strips of paper 1.5 inches by 12 inches. I then used the cm side of my scoreboard to score lines at half a cm intervals all the way along the strips. Then I sat and patiently folded the paper concertina style. I attached two strips together and formed the rosette/bauble.

I underestimated how long these would take  to make (took ages! lol) so hope my neighbour appreciates it!.

4th card of the day


I have made this one for the young couple who live over the road .... the paper is "Everyone Loves Christmas by Bella Road. The paper is double sided - with the (green)  reverse being used  on the tag. The tag was made from ribbed kraft card, I used my corner rounder to trim the edges and added a small wooden reindeer and a few adhesive gems. Love the colours in this 8 x8 card, really cheery and christmassy I think.

Under Pressure .... lol

I am making cards for family and special friends this weekend, so thought I would make a start on the cards for my neighbours - have five to make and have finished 3 so far .... the papers were from a 12 x 12 collection by K & Co (I think?) a few years back.  I thought it was about time I used some of the papers! lol

Hope you like them, hopefully there will be more posts throughout the weekend! Have so many to make .... why have I left it so late!!!! lol


Wednesday, 23 November 2011

A Magnolia T Light card

I made another T light card today and added a couple of cute Magnolia stamped images. For a tutorial on how to make his style of card, please feel free to look at my previous blog post.


Tuesday, 22 November 2011

Is It a Card?Is It a Gift? ... It's Both!

I have seen a lot of this type of card on the web and thought I'd have a bash at making one myself.  The first stage was to make the gift box for inside the card.

I cut a 15cm square of card and drew lines at 1.5cm, 2cm, 8cm, 2cm  as shown in the first picture


I then snipped out three small sections of card in each corner and also made a small tab by carefully cutting the card as shown below.


I used my Cuttlebug to cut a small aperture in the centre of the card. I chose a plain circle, but any shape can be used as long as it fits!


I then scored/folded the card along each drawn line and removed two tabs. I glued the two remaining tabs to the sides of the card to begin forming the box. 


I cut a small piece of acetate to fit inside the box and glued it in at each corner. I also trimmed a small piece of card from the corners of the open tab to form a lid.


I popped 4 scented tea lights inside the box and folded in the lid.


I then moved onto make the main body of the card. I used an A4 sheet of card and cut a strip 14 cm wide. I drew two lines at 13.7cm from each side of the card, which left a gap of 2.2cm in the centre of the card.


I then scored and folded the card along the drawn lines.


The gift box was then glued in place inside the card.


I made the card shown below from some A4 Kanban card stock I had in my stash. I would recommend decorating the inside of your card before you glue in the gift box as it makes life a little easier. While the example shown has tea lights as the gift, the options are endless - this box is the perfect size for things such as a distress ink, chocolates, hankies, silk scarf etc, but the size can easily be adapted to fit anything you like .


Am off to make some more,  now I know what I am doing! Till next time xx

Saturday, 19 November 2011

A Little Something Just For Me!

Having made lots of cards lately, I decided to take a bit of a break and make something else! It's very unusual for me to make an "Off the Page" project, but sometimes it can be really good to step a little outside your comfort zone!

I had recently purchased some stunning Kaiserkraft papers from Bee Crafty, so I chose a selection of papers from the Gypsy Sisters collection and came up with the idea of making a mini folding photo album/calendar - just for me!
               

First of all I cut 6 pieces of card measuring 9cm by 13cm. I then inked around the edges of the card using a Plum coloured Promarker. I made 8 hinges from card and glued them onto the relevant sections.

I then cut 12 pieces of patterned paper measuring 9cm by 13cm and distressed the edges with "Faded Jeans" Distress ink.The papers were then glued in place onto each section of the album.

I made some pockets and tags out of the paper off-cuts and decorated them with co-ordinating ribbons, pins, adhesive gems and lace. These were then glued to the various sections of the mini album. I added a few photo's of my lovely mum (sadly no longer with us) to the remaining sections and also added a 2012 calendar.


This album was so simple to make and is going to take pride of place on my craft desk from now on.


If you haven't tried Kaisercraft papers before, please believe me when I say the papers are simply stunning. The quality is excellent and the patterns and colour palettes they use are beautiful.

Bee Crafty has lots of the new papers by  Kaisercraft in stock at the moment (both on line and in the shop) I am definitely going to buy some more from them next week - whilst they are still available!

Thursday, 17 November 2011

Molly Blooms Xmas Stamps

I have recently purchased 4 Molly Blooms Christmas stamps and here are three cards made with the first one:


Same Magnolia Stamp - Different Card!

Hello All - I've had another pay with my one and only Magnolia stamp, but this time I've gone for an easel layout.

The paper is the Gypsies Sister range from Kaiserkraft and actually came free with some other embellishments in the latest copy of Simply Homemade.

I distressed the edges of the paper with "Antique Linen"I and added a few larger flourishes, some adhesive pearls and a cream satin bow.  I also added some "Doohickey" flowers (which were also distressed) that I purchased from good old E-Bay!

Hope you like it - please feel free to leave any tips or comments!

Sunday, 13 November 2011

A Pink, Purple & Green Challenge

This is my entry for the Crafty Bloggers Network challenge, the theme is "Pink Purple and Green".